| Urbex 30
May 6, 2009 at 12:16 am
|
|  tonydg posted a photo: 
|
| Urbex 29
May 6, 2009 at 12:16 am
|
|  tonydg posted a photo: 
|
| Urbex 26
May 6, 2009 at 12:15 am
|
|  tonydg posted a photo: 
|
| Urbex 25
May 6, 2009 at 12:15 am
|
|  tonydg posted a photo: 
|
| Urbex 24
May 6, 2009 at 12:15 am
|
|  tonydg posted a photo: 
|
| Urbex 22
May 6, 2009 at 12:15 am
|
|  tonydg posted a photo: 
|
| Urbex 23
May 6, 2009 at 12:15 am
|
|  tonydg posted a photo: 
|
| Urbex 18
May 6, 2009 at 12:14 am
|
|  tonydg posted a photo: 
|
| Urbex 15
May 6, 2009 at 12:14 am
|
|  tonydg posted a photo: 
|
| Urbex 16
May 6, 2009 at 12:14 am
|
|  tonydg posted a photo: 
|
| Urbex 13
May 6, 2009 at 12:13 am
|
|  tonydg posted a photo: 
|
| Urbex 8
May 6, 2009 at 12:13 am
|
|  tonydg posted a photo: 
|
| Urbex 12
May 6, 2009 at 12:13 am
|
|  tonydg posted a photo: 
|
| Urbex 11
May 6, 2009 at 12:13 am
|
|  tonydg posted a photo: 
|
| Urbex 7
May 6, 2009 at 12:13 am
|
|  tonydg posted a photo: 
|
| Urbex 10
May 6, 2009 at 12:13 am
|
|  tonydg posted a photo: 
|
| Urbex 14
May 6, 2009 at 12:13 am
|
|  tonydg posted a photo: 
|
| Urbex 5
May 6, 2009 at 12:12 am
|
|  tonydg posted a photo: 
|
| Urbex 6
May 6, 2009 at 12:12 am
|
|  tonydg posted a photo: 
|
| Urbex 4
May 6, 2009 at 12:12 am
|
|  tonydg posted a photo: 
|
| SA5-tank-1
May 5, 2009 at 8:19 pm
|
|  jal3net posted a photo: 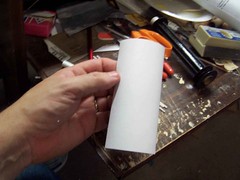
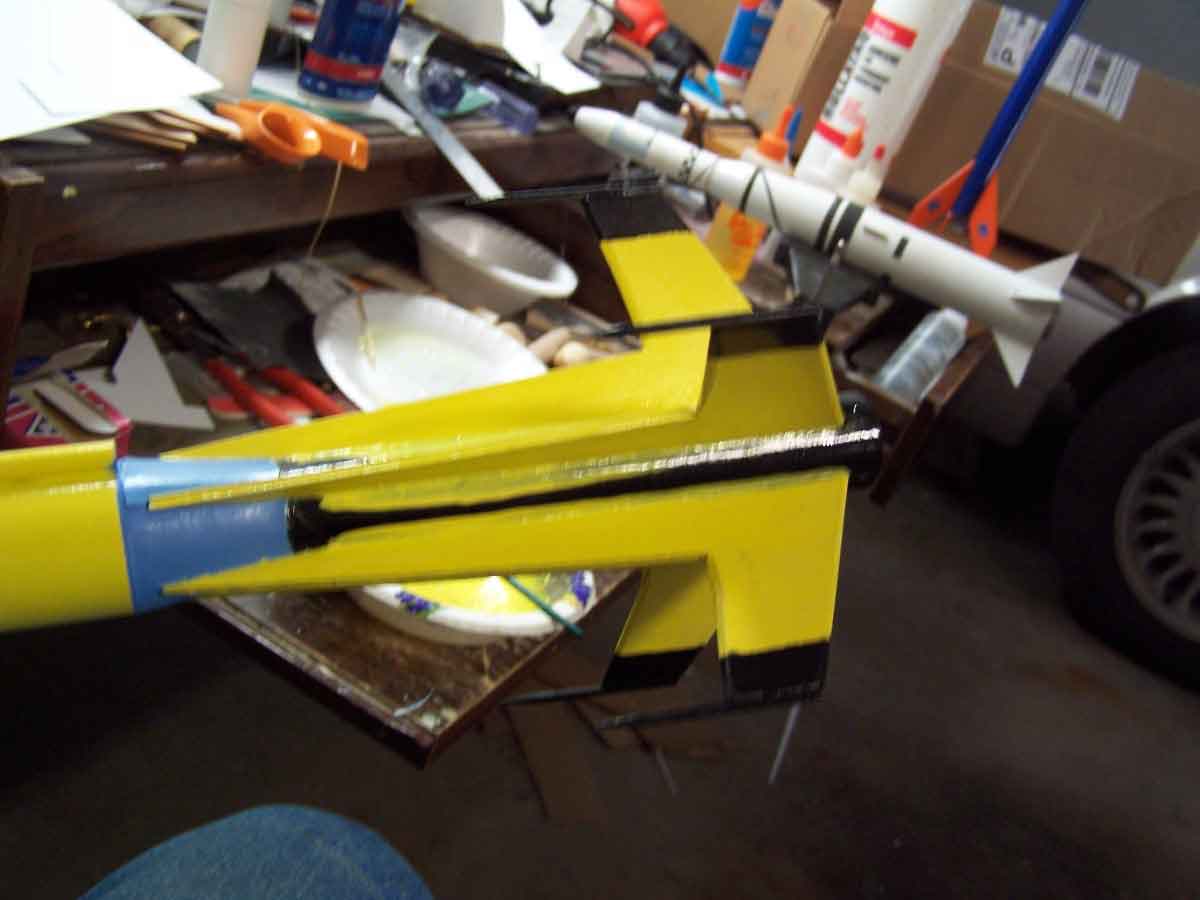
As the black paint was drying, I began the process of cutting out the LOX tank and fuel tank wraps. These were rolled on a rubber mat with the forming dowel to help the forming of the tubes. |
| SA5-tank-2
May 5, 2009 at 8:19 pm
|
|  jal3net posted a photo: 
As the black paint was drying, I began the process of cutting out the LOX tank and fuel tank wraps. These were rolled on a rubber mat with the forming dowel to help the forming of the tubes. |
| SA5-black-1
May 5, 2009 at 8:15 pm
|
|  jal3net posted a photo: 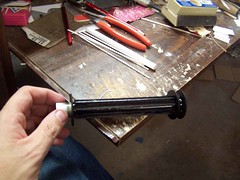
The next day, with the glue on the spider beams presumably dry, I put the motor mount assembly into the booth and shot it with black. |
| SA5-black-2
May 5, 2009 at 8:15 pm
|
|  jal3net posted a photo: 
The next day, with the glue on the spider beams presumably dry, I put the motor mount assembly into the booth and shot it with black. |
| MR-fins-14
May 5, 2009 at 8:07 pm
|
|  jal3net posted a photo: 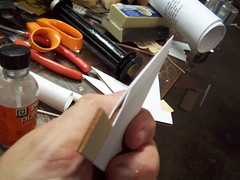
At this point, the plywood cores were sandwhiched between styrene sheets and bonded with CA. The bevels on the leading edges of the fins still had to be dealt with though. This was easily done with the application of a solvent type of plastic cement. I used Plastruct. This welded the leading edges together and healed all gaps. |
| "To me, To you" ...
May 5, 2009 at 8:07 pm
|
|  Keyser_ Soze posted a photo: 
|
| MR-fins-13
May 5, 2009 at 8:07 pm
|
|  jal3net posted a photo: 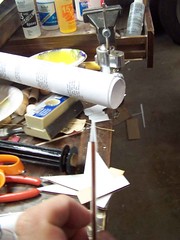
At this point, the plywood cores were sandwhiched between styrene sheets and bonded with CA. The bevels on the leading edges of the fins still had to be dealt with though. This was easily done with the application of a solvent type of plastic cement. I used Plastruct. This welded the leading edges together and healed all gaps. |
| URBANPAPER_31
May 5, 2009 at 8:07 pm
|
|  macula1 posted a photo: 
Matt Hawkins, Brian Castleforte, Christopher "Macula" Bonnette, and Cooper.
Urban Paper
Book signing and paper toy art show
Saturday May 2- May 29
Mobius
3300 W. 6th Street
Los Angeles , CA 90020
213-385-9200
www.shopmobius.com |
| MR-fins-10
May 5, 2009 at 8:01 pm
|
|  jal3net posted a photo: 
When all of the angles were formed, the styrene was glued to the plywood cores using CA. The resulting bevel actually looked pretty good even if it was not yet "perfect". |
| MR-fins-12
May 5, 2009 at 8:01 pm
|
|  jal3net posted a photo: 
When all of the angles were formed, the styrene was glued to the plywood cores using CA. The resulting bevel actually looked pretty good even if it was not yet "perfect". |
| MR-fins-11
May 5, 2009 at 8:01 pm
|
|  jal3net posted a photo: 
When all of the angles were formed, the styrene was glued to the plywood cores using CA. The resulting bevel actually looked pretty good even if it was not yet "perfect". |
| MR-fins-9
May 5, 2009 at 8:01 pm
|
|  jal3net posted a photo: 
When all of the angles were formed, the styrene was glued to the plywood cores using CA. The resulting bevel actually looked pretty good even if it was not yet "perfect". |
| MR-fins-7
May 5, 2009 at 7:56 pm
|
|  jal3net posted a photo: 
The styrene along the angled leading edge of the fins was scored but not snapped off. The scoring was to facilitate bending an angle into the leading edge. After trying several methods of getting this right, the one that worked best for me was to put the plywood core into place and then gently bend the plastic towards the centerline of the fin. |
| MR-fins-8
May 5, 2009 at 7:56 pm
|
|  jal3net posted a photo: 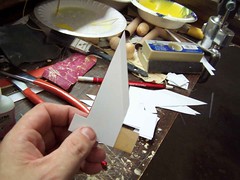
The styrene along the angled leading edge of the fins was scored but not snapped off. The scoring was to facilitate bending an angle into the leading edge. After trying several methods of getting this right, the one that worked best for me was to put the plywood core into place and then gently bend the plastic towards the centerline of the fin. |
| MR-fins-6
May 5, 2009 at 7:56 pm
|
|  jal3net posted a photo: 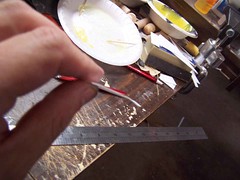
The styrene along the angled leading edge of the fins was scored but not snapped off. The scoring was to facilitate bending an angle into the leading edge. After trying several methods of getting this right, the one that worked best for me was to put the plywood core into place and then gently bend the plastic towards the centerline of the fin. |
| MR-fins-4
May 5, 2009 at 7:50 pm
|
|  jal3net posted a photo: 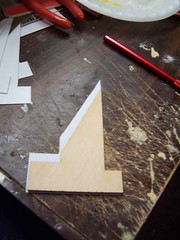
A fact that may be worrisome for somebody who does not READ the instruction is that the styrene fins are somewhat larger than the plywood cores. There is a good reason for this. The plywood core is set flush against the base and root edge of the styrene. The styrene is then lightly scored with the razor along the leading edge. The rudders on the outer edge are also scored and then snapped off and saved for later. |
| MR-fins-5
May 5, 2009 at 7:50 pm
|
|  jal3net posted a photo: 
A fact that may be worrisome for somebody who does not READ the instruction is that the styrene fins are somewhat larger than the plywood cores. There is a good reason for this. The plywood core is set flush against the base and root edge of the styrene. The styrene is then lightly scored with the razor along the leading edge. The rudders on the outer edge are also scored and then snapped off and saved for later. |
| MR-fins-2
May 5, 2009 at 7:44 pm
|
|  jal3net posted a photo: 
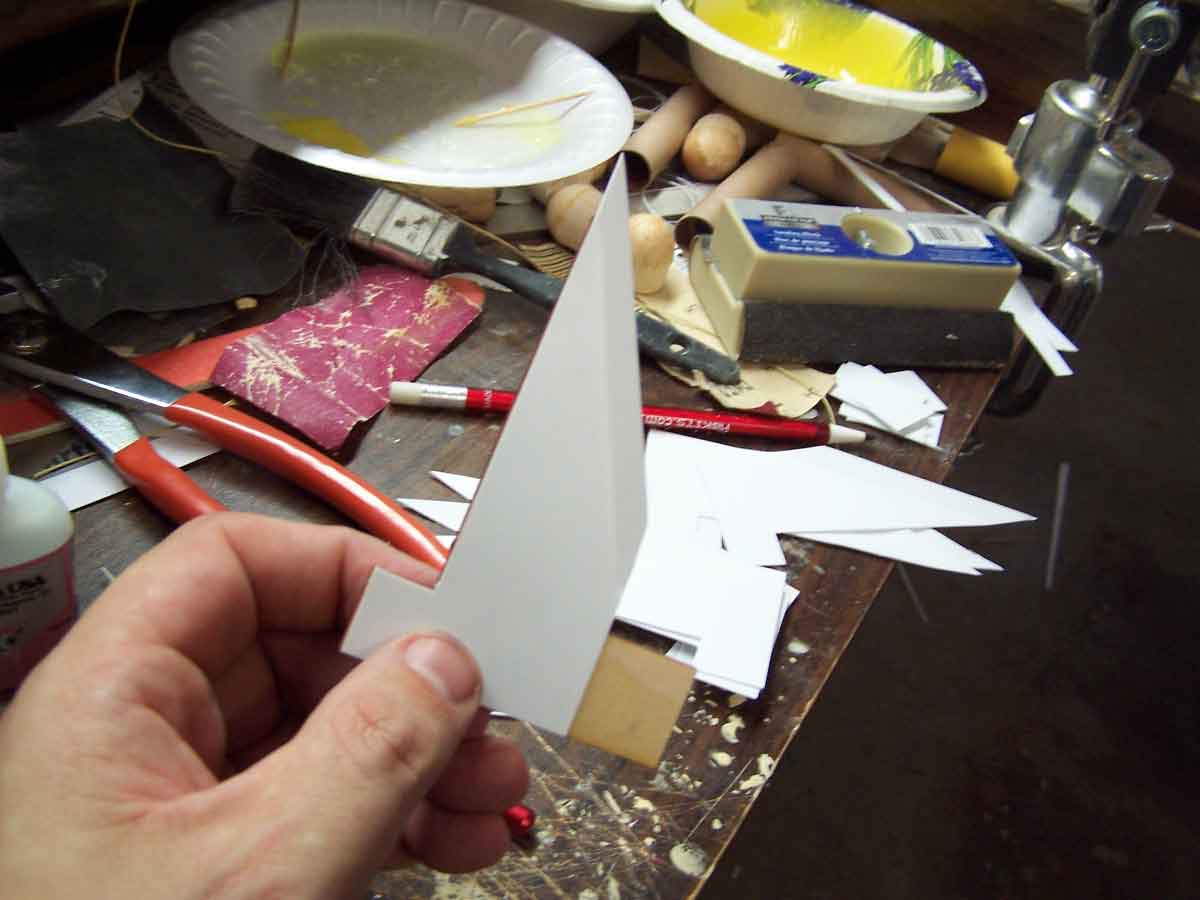
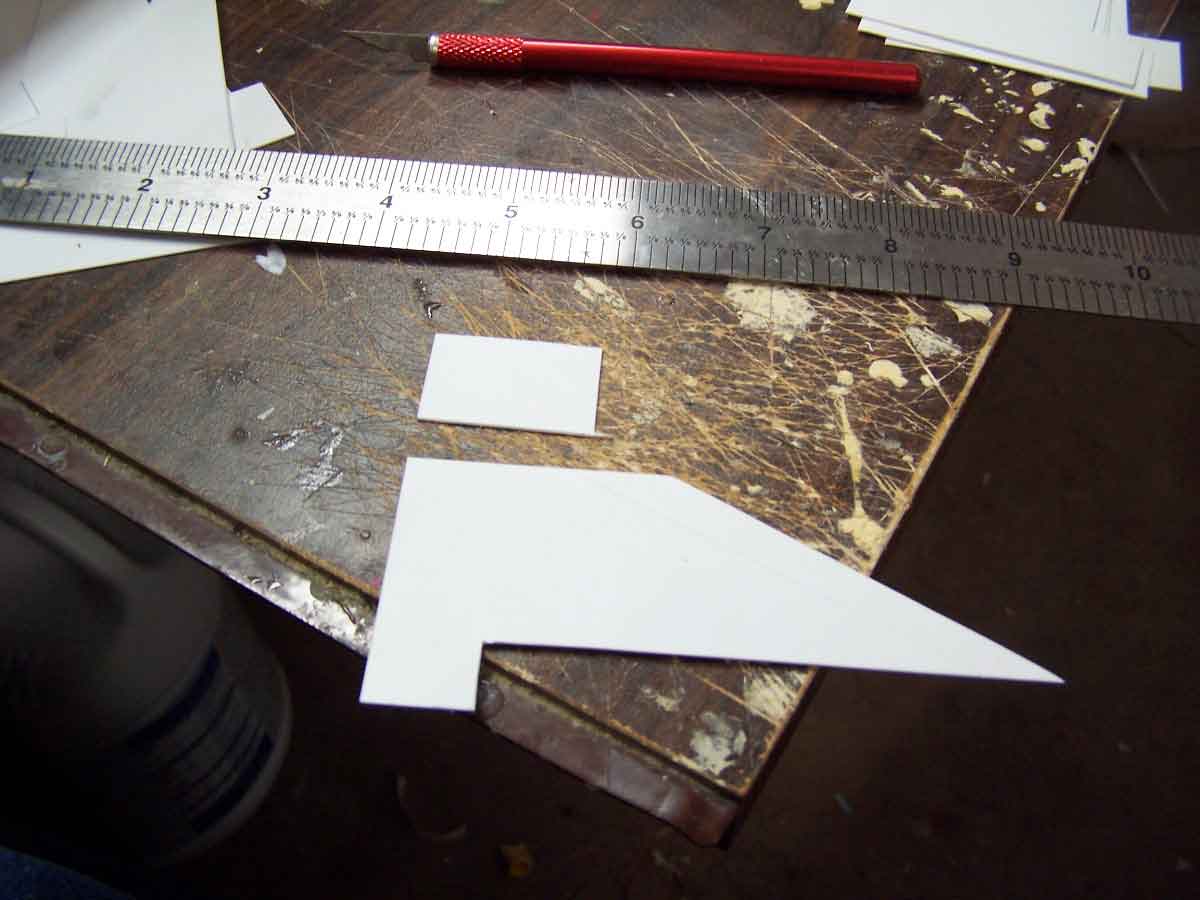
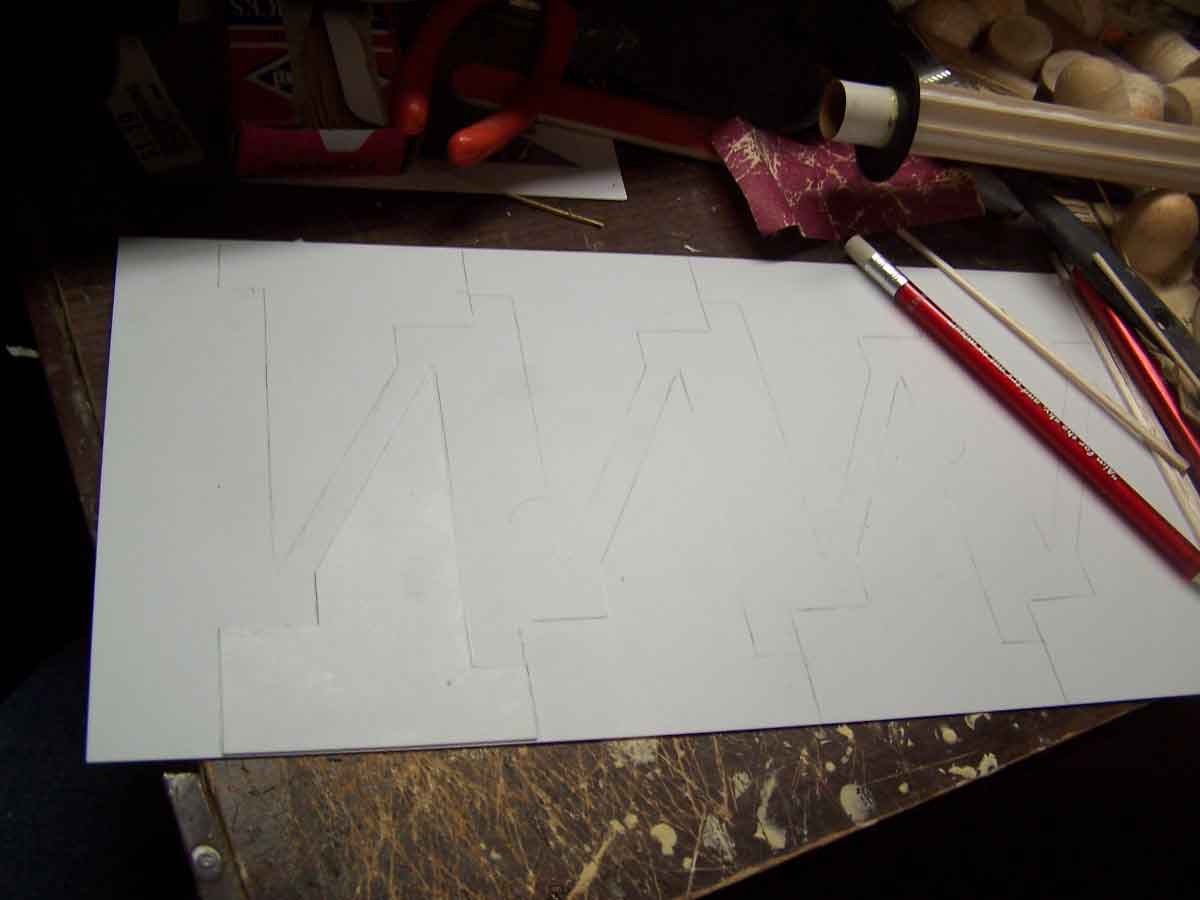
The fin template was used to transfer the outline of the fins to the sheet styrene for 8 instances. The instruction recommended to use the template as a guide to score the styrene with a razor knife and then flex it to make clean breaks. The scoring and flexing idea worked well for me but the using of the template as a guide to do this did not. For me, it was much easier to use a steel rule as a guide for the scoring. That kept my poor template in better shape as well. |
| MR-fins-3
May 5, 2009 at 7:44 pm
|
|  jal3net posted a photo: 
The fin template was used to transfer the outline of the fins to the sheet styrene for 8 instances. The instruction recommended to use the template as a guide to score the styrene with a razor knife and then flex it to make clean breaks. The scoring and flexing idea worked well for me but the using of the template as a guide to do this did not. For me, it was much easier to use a steel rule as a guide for the scoring. That kept my poor template in better shape as well. |
| ms-reyellow-2
May 5, 2009 at 7:32 pm
|
|  jal3net posted a photo: 
Over the course of a week, I kept trying to fix up the paint job. I would spray the yellow I had used into a bowl and brush it on and then go back with the black acrylic. I could never get anything approximating a straight line so I went to plan C.
Plan C involved using a piece of cardsotck as a painting shield. I would hold it against the fin and then brush on the black. I learned to do this painting trim on houses and using a wide, flexible putty knife as the shield. The shield idea worked but I could never remove it without brushing up against the wrong surface and destroying the work done to date. Time for plan D.
I brushed on some more of the yellow, not minding if it invaded the black areas. I wanted to let this part dry thoroughly. |
| Old and new
May 5, 2009 at 3:07 pm
|
|  mmagne posted a photo: 
Constant developement surrounding one of what I believe is old museums. |
| Berlin
May 5, 2009 at 3:06 pm
|
|  mmagne posted a photo: 
|
| rusty
May 5, 2009 at 3:04 pm
|
|  dirk.jan posted a photo: 
bouwplaats van het stadskantoor leyweg , den haag | |


No comments:
Post a Comment